A heat press machine is one of the most popular tools for creating custom T-shirts, hats, tote bags, and other personalized items. Whether you’re starting a small printing business or just want to design unique gifts, learning how to use a heat press machine correctly is essential. In this guide, we’ll explain everything you need to know—from setup to pressing your first design.
What is a Heat Press Machine?
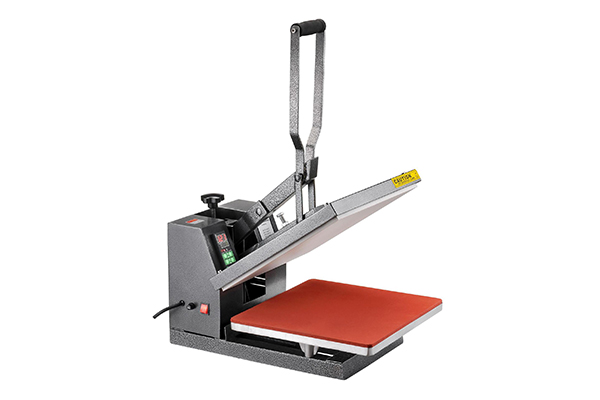
A heat press machine is a device that uses heat and pressure to transfer designs, logos, or images onto fabrics and other materials. Unlike a regular iron, a heat press ensures even heat distribution and precise pressure, making it ideal for professional-quality results.
Heat press machines are commonly used for:
- Custom T-shirts and hoodies
- Sports jerseys and uniforms
- Tote bags, caps, and promotional products
- Mouse pads, puzzles, and mugs (with specialty presses)
What You Need Before Using a Heat Press
Before you start, make sure you have the following:
- Heat press machine (clamshell, swing-away, or cap press, depending on your project)
- Blank material (such as a cotton T-shirt)
- Heat transfer material (heat transfer vinyl, sublimation paper, or transfer paper)
- Design file (cut using a vinyl cutter or printed with sublimation ink)
- Protective sheets (like Teflon sheets or parchment paper)
Step-by-Step Guide: How to Use a Heat Press Machine
1. Set Up the Machine
- Place the heat press on a stable, flat surface.
- Plug it in and turn it on.
- Adjust the temperature and time settings according to your transfer material. For example, heat transfer vinyl typically requires 300–320°F (150–160°C) for 10–15 seconds.
2. Prepare Your Design
- If using heat transfer vinyl (HTV), cut your design with a vinyl cutter and weed out excess material.
- If using sublimation printing, print your design on sublimation paper with sublimation ink.
- Make sure the design is mirrored (flipped) before printing or cutting.
3. Position the Garment or Material
- Lay your T-shirt or fabric flat on the press.
- Pre-press for 2–3 seconds to remove wrinkles and moisture.
- Position your transfer design where you want it to appear.
4. Apply Heat and Pressure
- Cover the design with a Teflon sheet to protect it.
- Lower the press and apply firm pressure.
- Hold it down for the set time (e.g., 10–15 seconds).
5. Remove the Transfer Sheet
- Carefully lift the press once the timer beeps.
- Peel off the transfer sheet according to instructions (some are hot peel, others require cold peel).
- Allow the fabric to cool for a few minutes.
Tips for Best Results
- Always check material compatibility (cotton, polyester, blends, etc.).
- Test on a scrap fabric before pressing the final product.
- Use even pressure to avoid incomplete transfers.
- Clean the platen regularly to prevent ink or vinyl residue.
Common Heat Press Mistakes to Avoid
- Using the wrong temperature or time can burn the fabric or cause peeling designs.
- Skipping pre-pressing may leave moisture that affects adhesion.
- Incorrect positioning can lead to crooked prints.
- Not following manufacturer’s guidelines for transfer materials can cause poor results.
Final Thoughts
Learning how to use a heat press machine is simple once you understand the process. With the right temperature, pressure, and timing, you can create professional-quality prints that last wash after wash. Whether you’re starting a custom T-shirt business or experimenting with DIY crafts, a heat press machine is an investment that pays off in creativity and profits.