Sublimation printing has become one of the most popular printing methods for creating high-quality, durable, and vibrant designs on a wide variety of products. From custom t-shirts and mugs to phone cases and signage, sublimation is the go-to choice for both hobbyists and businesses in the print-on-demand industry. If you’re wondering how do you do sublimation printing, this guide will walk you through the entire process, step by step.

What is Sublimation Printing?
Sublimation printing is a digital printing technique that uses heat to transfer dye onto materials such as polyester fabrics or coated hard surfaces. Unlike traditional printing methods, sublimation doesn’t just print on the surface. Instead, the ink turns into a gas under heat and pressure, bonding directly with the fibers or coating of the substrate. The result is a long-lasting, full-color design that won’t crack, peel, or fade easily.
What Do You Need for Sublimation Printing?
Before you get started, you’ll need the right equipment and supplies:
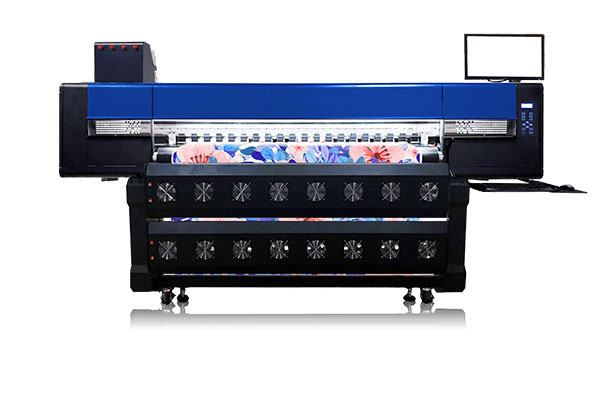
- Sublimation Printer – A specialized printer or converted inkjet printer capable of using sublimation ink.
- Sublimation Ink – Dye-based inks designed for sublimation printing.
- Heat Press Machine – Essential for applying heat and pressure to transfer the design.
- Blanks (Substrates) – Items compatible with sublimation, such as polyester shirts, coated mugs, aluminum sheets, or phone cases.
- Design Software – Programs like Photoshop, CorelDRAW, or free tools such as Canva to create your designs.
Step-by-Step Sublimation Printing Process
1. Create Your Design
Start by designing your artwork using graphic design software. Make sure your file is set to high resolution (at least 300 DPI) for the best results. Don’t forget to mirror (flip) the design before printing, since it will be reversed during the transfer process.
2. Print on Sublimation Paper
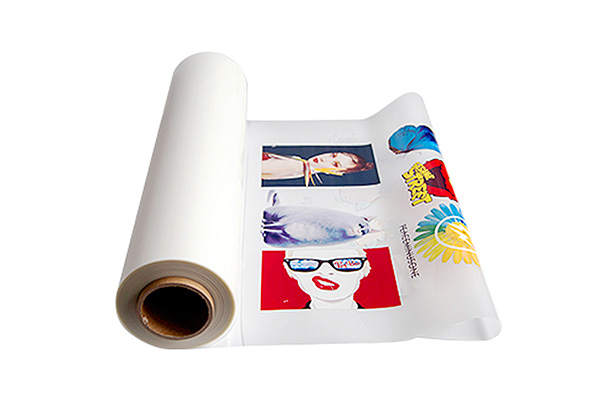
Load sublimation paper into your printer and print your mirrored design using sublimation ink. The print may look dull on paper, but don’t worry—colors will become vibrant after heat pressing.
3. Prepare the Substrate
Place your blank item (e.g., a t-shirt, mug, or plaque) on a clean, flat surface. Make sure it is lint-free and dry. For fabric, pre-press it for a few seconds to remove moisture and wrinkles.
4. Position the Design
Align the printed sublimation paper onto the blank. Use heat-resistant tape to secure it and prevent shifting during the heat press process.
5. Heat Press the Item
Set your heat press to the recommended temperature, pressure, and time (these settings vary depending on the material). For example:
- Polyester fabric: 400°F (204°C) for 45–60 seconds.
- Mugs: 380–400°F (193–204°C) for 3–5 minutes.
Apply firm pressure and let the sublimation process transfer the design.
6. Remove Paper and Inspect
After pressing, carefully remove the sublimation paper. Your design should now appear bright, sharp, and permanent on the product.

Tips for Successful Sublimation Printing
- Only use polyester or polyester-coated substrates—cotton and uncoated surfaces don’t work.
- Check heat press settings—too little heat or pressure can cause faded prints.
- Use high-resolution images—low-quality files will result in blurry designs.
- Experiment with test prints before moving to bulk production.
Why Choose Sublimation Printing?
Sublimation printing stands out because of its:
- Durability – Designs won’t crack or peel.
- Full-color capabilities – Ideal for photo-quality prints.
- Wide range of applications – Works on apparel, drinkware, signage, and more.
- Cost-effectiveness – Perfect for both small runs and large-scale production.
Final Thoughts
Learning how to do sublimation printing is easier than it seems once you have the right tools and follow the proper steps. Whether you want to start a printing business or simply make personalized gifts, sublimation offers endless creative opportunities. With practice, you’ll be able to produce professional-quality products that stand out for their vibrant colors and lasting durability.